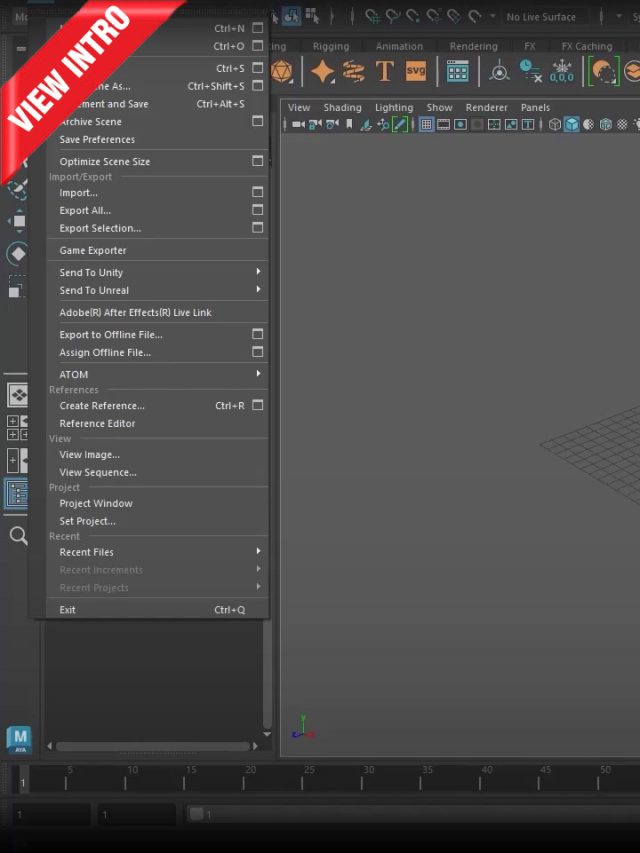
 Setting up Maya
What You’ll Learn in this Course
What do you get when you Enrol?
Who this Course is for:
$19.99 $149 77% off
Audio: English
Subtitles: English
Modeling
 Setting up Maya
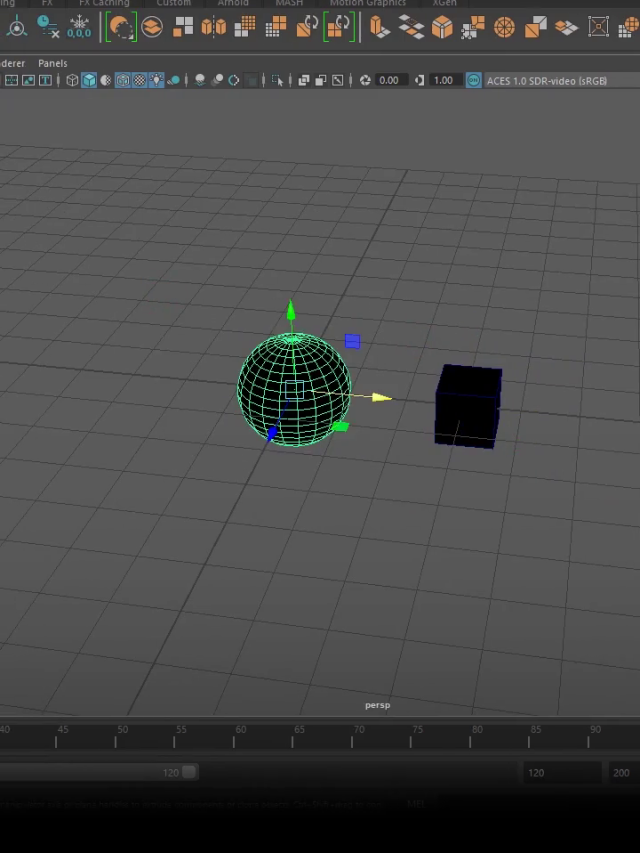 Work Interface & 3D space
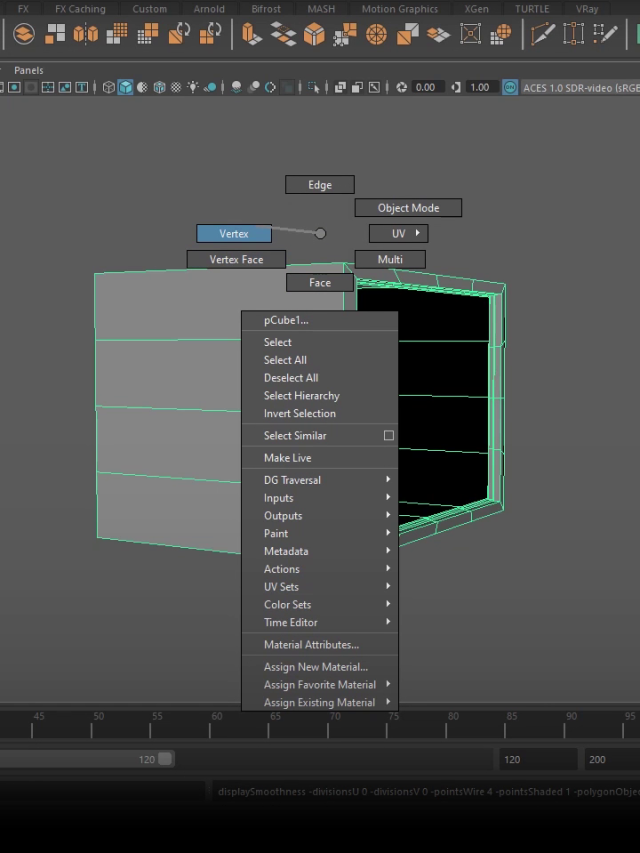 Work & Object Modes
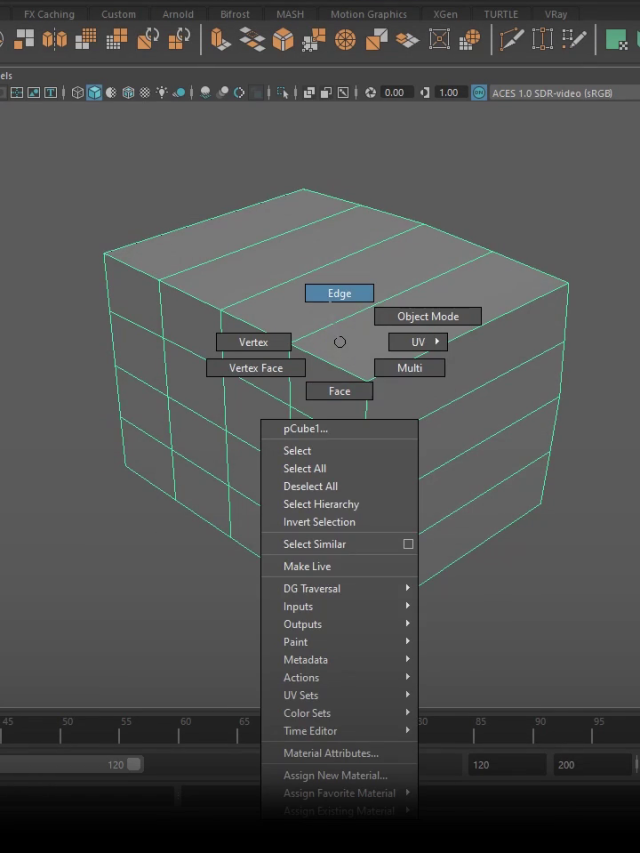 Modeling Tools
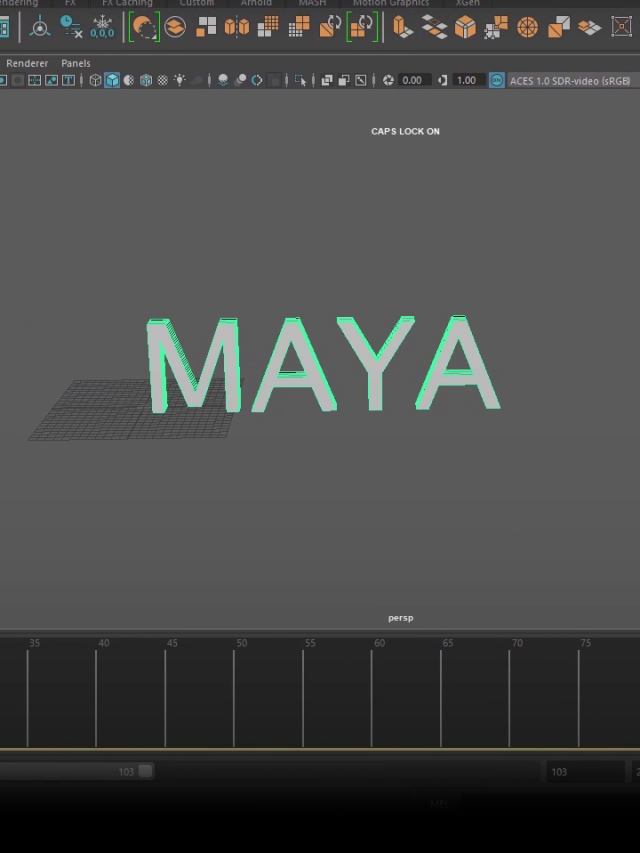 Modifiers
Texturing & Lighting
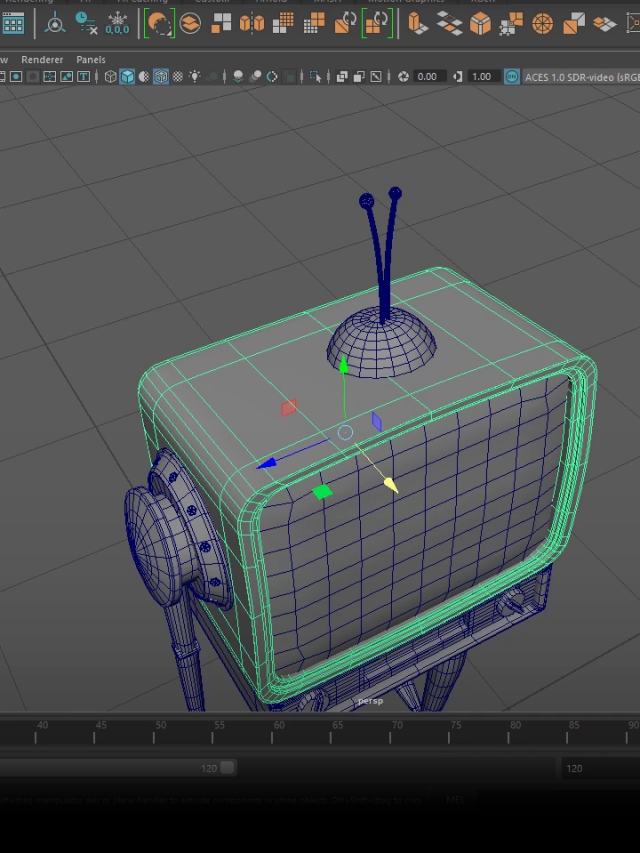 Assign Material & Presets
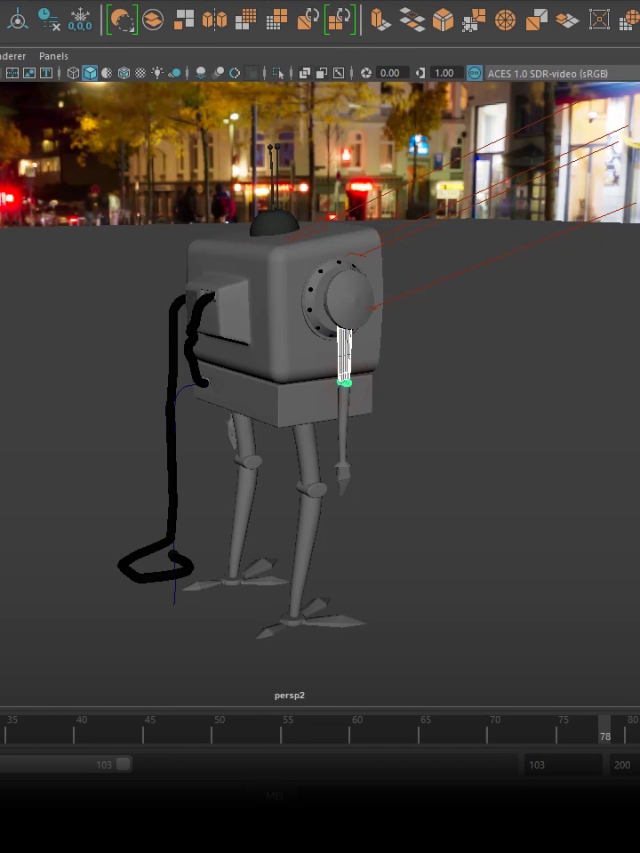 Assign Textures, UV & Import file
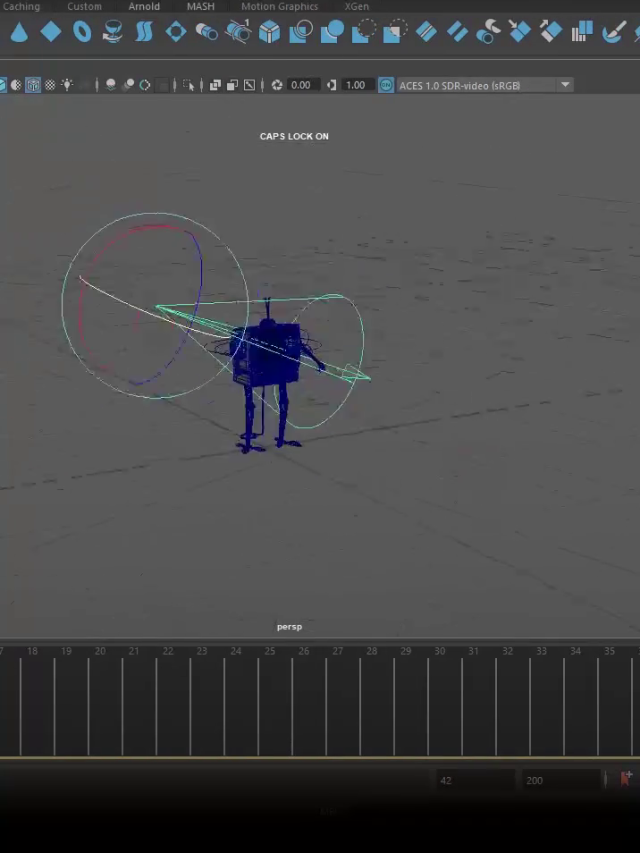 Create a Light
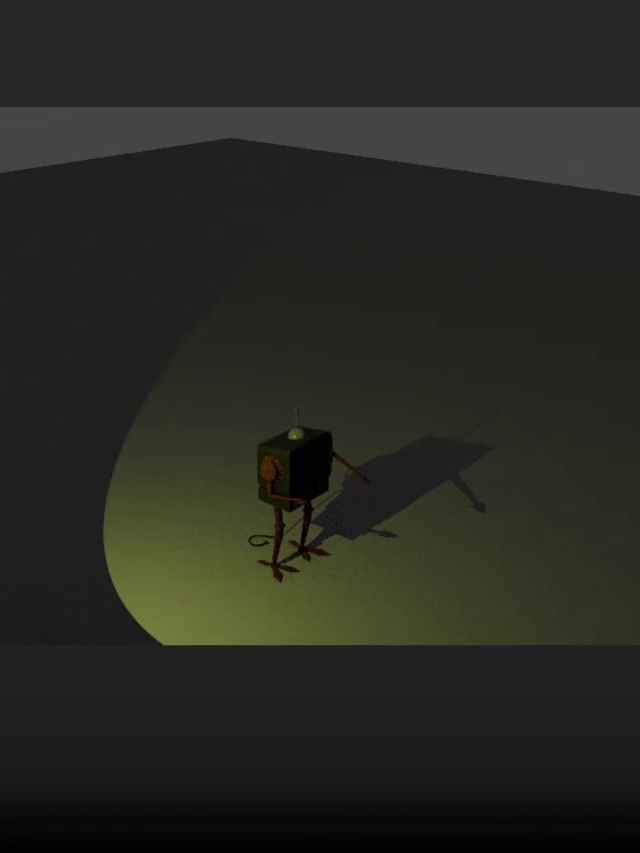 Setup lights
Rigging & Animation
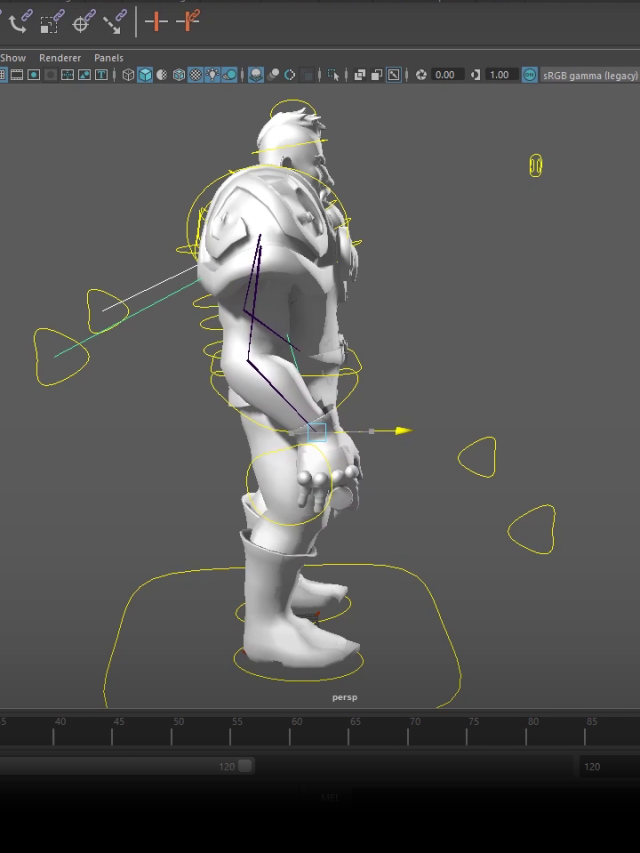 Rigging Setup
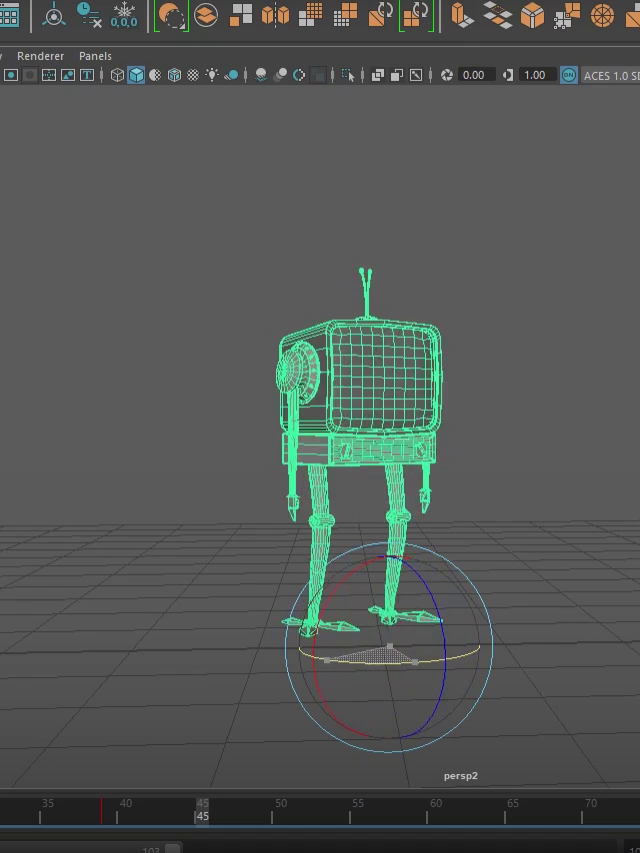 Animation Introduction
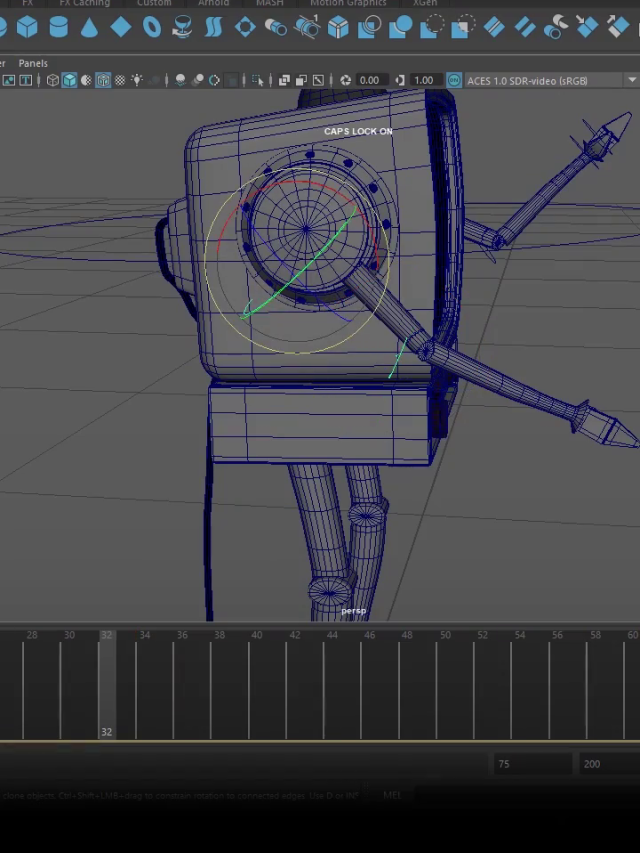 Object & Character animation
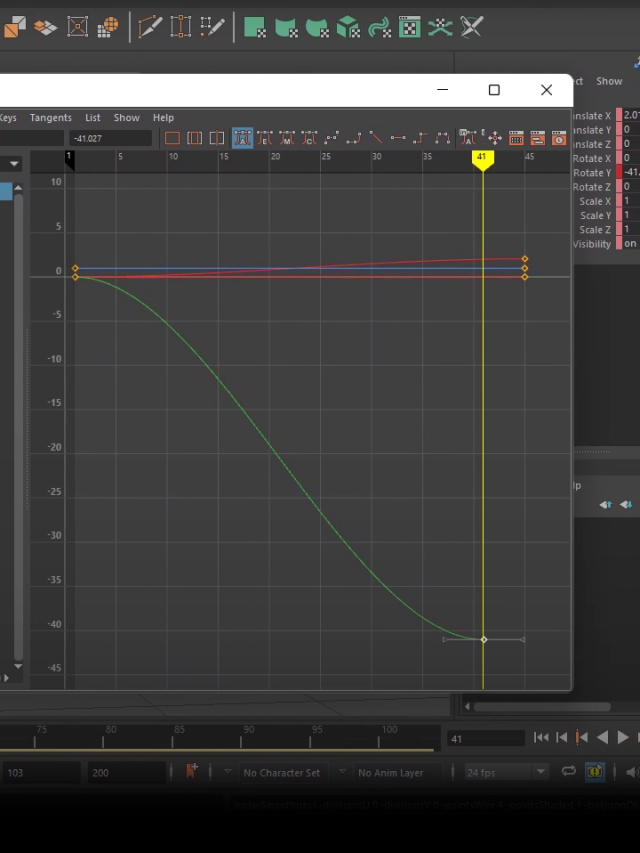 Blocking & Polishing
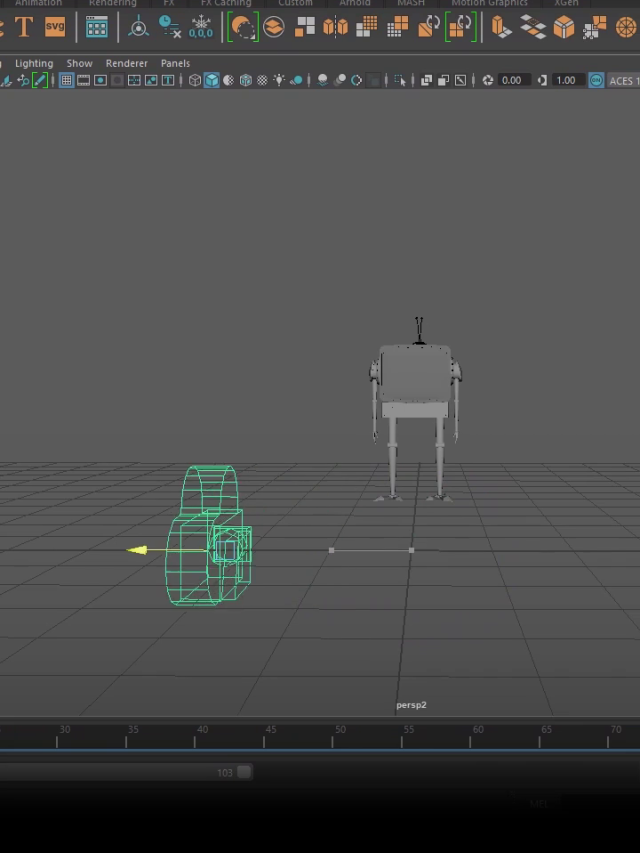 Constraints & Camera
Visual FX & Rendering
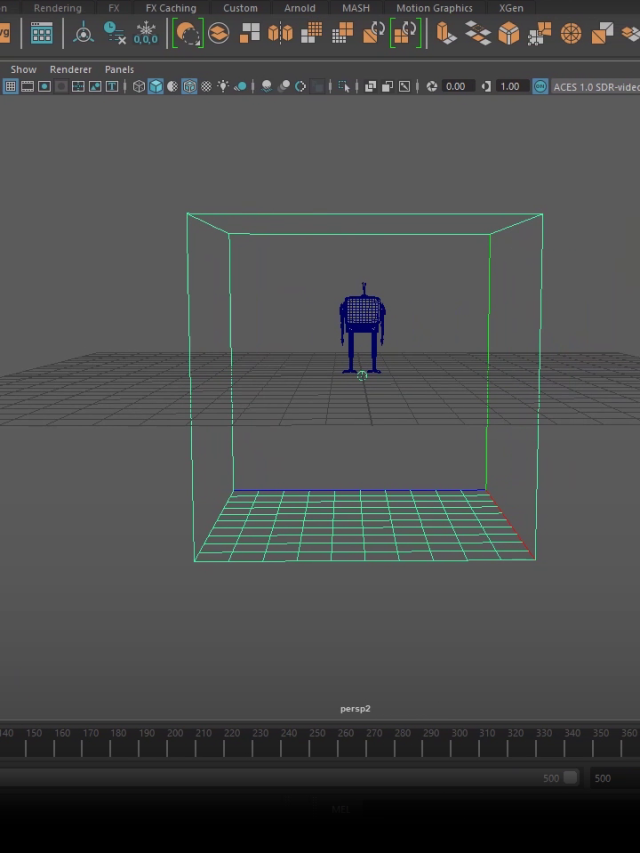 Physics
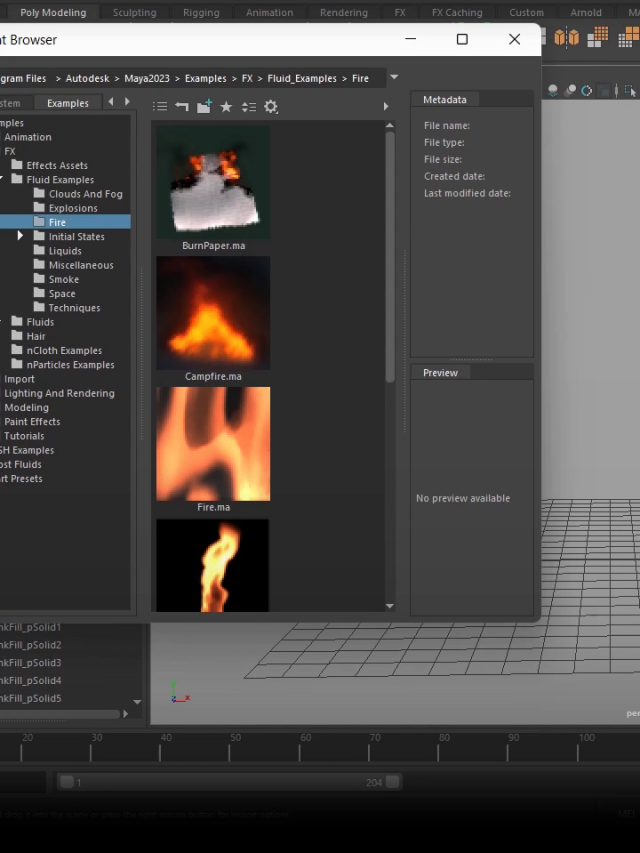 Particle System & Fluid
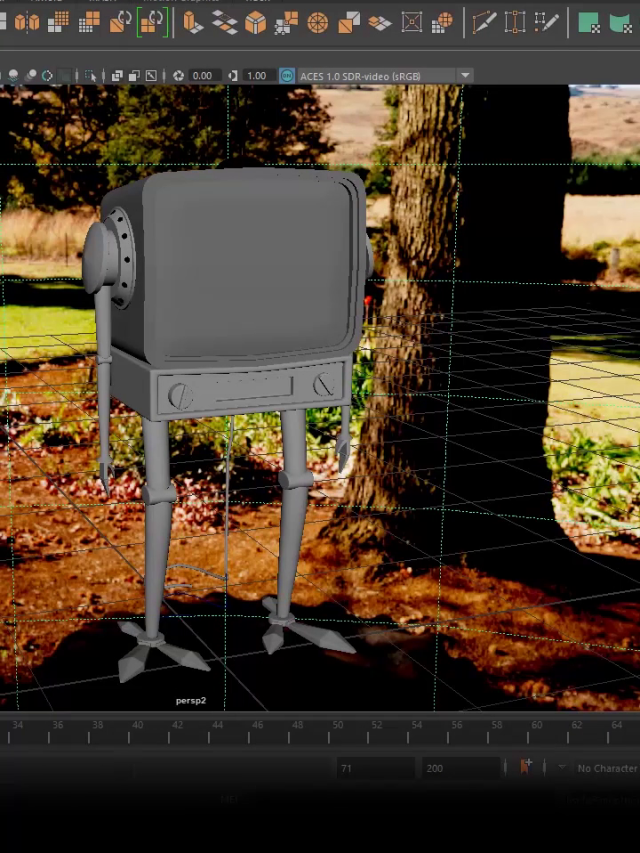 Render setup
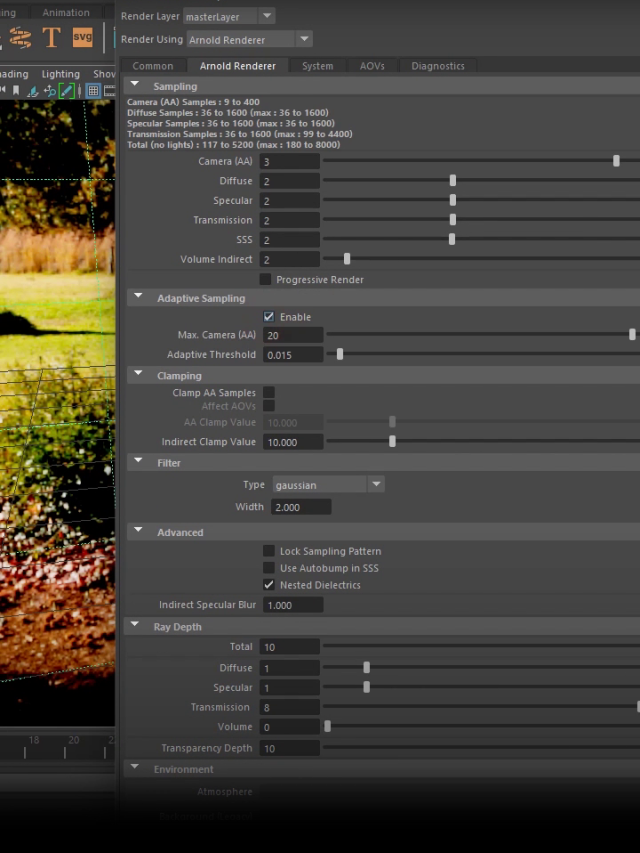 Render view & Render output
Why choose us?
Testimonial from professional
Kwik L is brilliant website! I had been looking for a high-quality tool to help me animate my 2D artwork and Kwik L has delivered it. With its intuitive user interface and advanced features, it streamlines the entire animation process. Additionally, I have encountered nearly no technical issues since I’ve started using the software. Kwik L is an essential tool for all of my animation needs!

Ehsan Farid
Creative director
Don't miss out on our exclusive offer!
Sign up now to begin your 7-day free trial.
PRIME
PRIME PRO
PRIME PLUS
WHAT IS MAYA?
Maya is a 3D computer graphics software for creating 3D animations, models, visual effects, and simulations, and is the go-to when it comes to creating stunning visuals with powerful tools.
Maya helps you create large-scale productions.
SCOPE OF MAYA?
Autodesk Maya is also used for motion graphics and visual effects in live-action productions for variety of projects. Additionally, allow users to easily create complex visual effects, rendering high-quality 2D and 3D. Used in the entertainment industry for creating films, television shows, advertisements, music videos, video games, virtual reality experiences and more.
WHY LEARN MAYA?
Maya is an industry standard application that is used by many high-end productions. By learning it you make yourself more employable. It has a flexible and wide toolset that can help you create high quality work quicker. Maya has the functionality of handling the whole pipeline, from modeling through rigging, animation, and rendering.
What includes in this course
See in brief what you will Learn in this Mastery Course of MAYA
1 - Modelling
1.1.2 - Installing Maya
1.1.3 - Save file
1.1.4 - save scenes as
1.1.5 - Open file
1.1.6 - Open Recent
1.1.7 - Project window
1.1.8 - Set project
1.2.2 - Perspective viewport
1.2.3 - Top viewport
1.2.4 - Front viewport
1.2.5 - Side viewport
1.2.6 - Outliner
1.2.7 - Channel box, layer editor
1.2.8 - Modeling tool kit
1.2.9 - XYZ Axis
1.2.10 - Zoom
1.3.2 - polygon primitives
1.3.3 - lights
1.3.4 - wireframe mode
1.3.5 - wireframe on shaded
1.3.6 - smooth shade all
1.3.7 - face
1.3.8 - edge
1.3.9 - vertex
1.3.10 - multi
1.4.2 - Rotate tool
1.4.3 - lasso tool
1.4.4 - paint lasso tool
1.4.5 - scale tool
1.4.6 - Extrude
1.4.7 - Bevel
1.4.8 - insert edge loop
1.4.9 - multi- cut
1.5.2 - Boolean
1.5.3 - Curve
1.5.4 - bridge
1.5.5 - Text
2 - Textures
2.1.3 - Ai carpaint
2.1.4 - Ai shadowmatte
2.1.5 - chrome
2.1.6 - copper
2.1.7 -balloon
2.1.8 - glass
2.1.9 - gold
2.1.10 - plastic
2.1.11 - rubber
2.1.12 - diamond
2.2.2 - roughness
2.2.3 - Normal Maps
2.2.4 - metal
2.2.5 - UV cutting
2.2.6 - Texture file
3 - Rigging
3..1.2 - Joint
4 - Animation
4.1.2 - Delete key
4.1.3 - Timeline
4.1.4 - Keyframe Tangent
4.1.5 - Flat
4.1.6 - Linear
4.1.7 - Animating Location
4.2.2 - Animating Scale
4.3.2 - Spine
4.3.3 - Leg
4.3.4 - Hand
4.3.5 - Face
4.3.6 - Fingers
4.3.7 - Storyboard
4.4.2 - Timing
4.4.2 - Adding Mid Frames
4.5.2 - Perfect timing
4.6.2 - Add constraints
4.6.3 - Loc / Rot / Scale Constraints
4.6.4 - Limit Value
4.7.2 - Framing
5 - Visual FX
5.1.2 - Collision
5.1.3 - Explode
5.1.4 - Ocean
5.1.5 - Soft Body
5.1.6 - Emission
5.2.2 - Source
5.2.3 - Space
5.2.4 - Fire
5.3.2 - Effector
5.3.3 - Fire / Smoke
5.3.4 - Liquid
6 - Lighting
6.1.2 - skydome light
6.1.3 - Direction light
6.1.4 - Spot light
6.1.5 - Mesh light
6.1.6 - Photometric light
6.1.7 - Point light
6.2.2 - Shadows
6.2.3 - Angles
6.2.4 - Exposure
6.2.5 - Intensity
6.2.6 - visibility
6.2.7 - samples
6.2.8 - Soft edge
6.2.9 - Shadow color
6.2.10 - Shadow density
7 - Rendering
7.1.2 - Crop region
7.1.3 - Render pasess
7.2.2 - Enable
7.2.3 - Sampling
7.2.4 - Specular
7.2.5 - AOV's adding
7.2.6 - AOV's delete
7.2.7 - Bucket scanning
7.2.8 - Bucket size
7.2.9 - Ai fog
7.2.10 - Render Camera
7.2.11 - Render image
7.3.2 - Render Animation
7.3.3 - Project window
Testimonials from our Valued Learners

Kwik L has been an absolute ultimate during our animation projects. It's fast and easy to use, so it doesn't take us long to get any task done with precision accuracy. Furthermore, its cost-effective nature makes it the perfect choice for smaller studios or independents who don't want to make a big investment in expensive software. Kwik L is the best Maya out there!
ARSLAN GULSOY

I've had the pleasure of using Kwik L for months now, and I can say that it is simply amazing! The auto-generating tools are top notch and make my life so much easier. It's quick, powerful, reliable and most importantly – very user friendly. Kwik L has made my 3D creation journey a lot smoother!
Sarah Knight

Kwik L has made working in Autodesk Maya so much easier. It's simple to use, cost-effective and swiping Maya's course is a breeze. I recommend it to any artist or software developer out there looking for an efficient way of working with Maya! Kwik L is great!
Eva Charles

Kwik L is a lifesaver! It has made life so much easier and cost effective when it comes to swiping and maya. I have looked around for something similar, but Kwik L just stands out with its ease of use and affordability. Kwik L is the perfect companion for anyone looking to take their design game to the next level.
Elliot Campbell
